I got this tip from my mechanic, and it works great.
If you do a lot of highway driving as I do, then you get a lot of deposits from diesel fuel on your windshield. The diesel fumes can't be removed with Windex and paper towels alone.
Try doing a first pass with Windex and a wadded up piece of newspaper, then do it again with the Windex and a paper towel. The newspaper is abrasive enough to remove the diesel fuel deposits without scratching the glass!
Friday, March 18, 2011
Tuesday, March 15, 2011
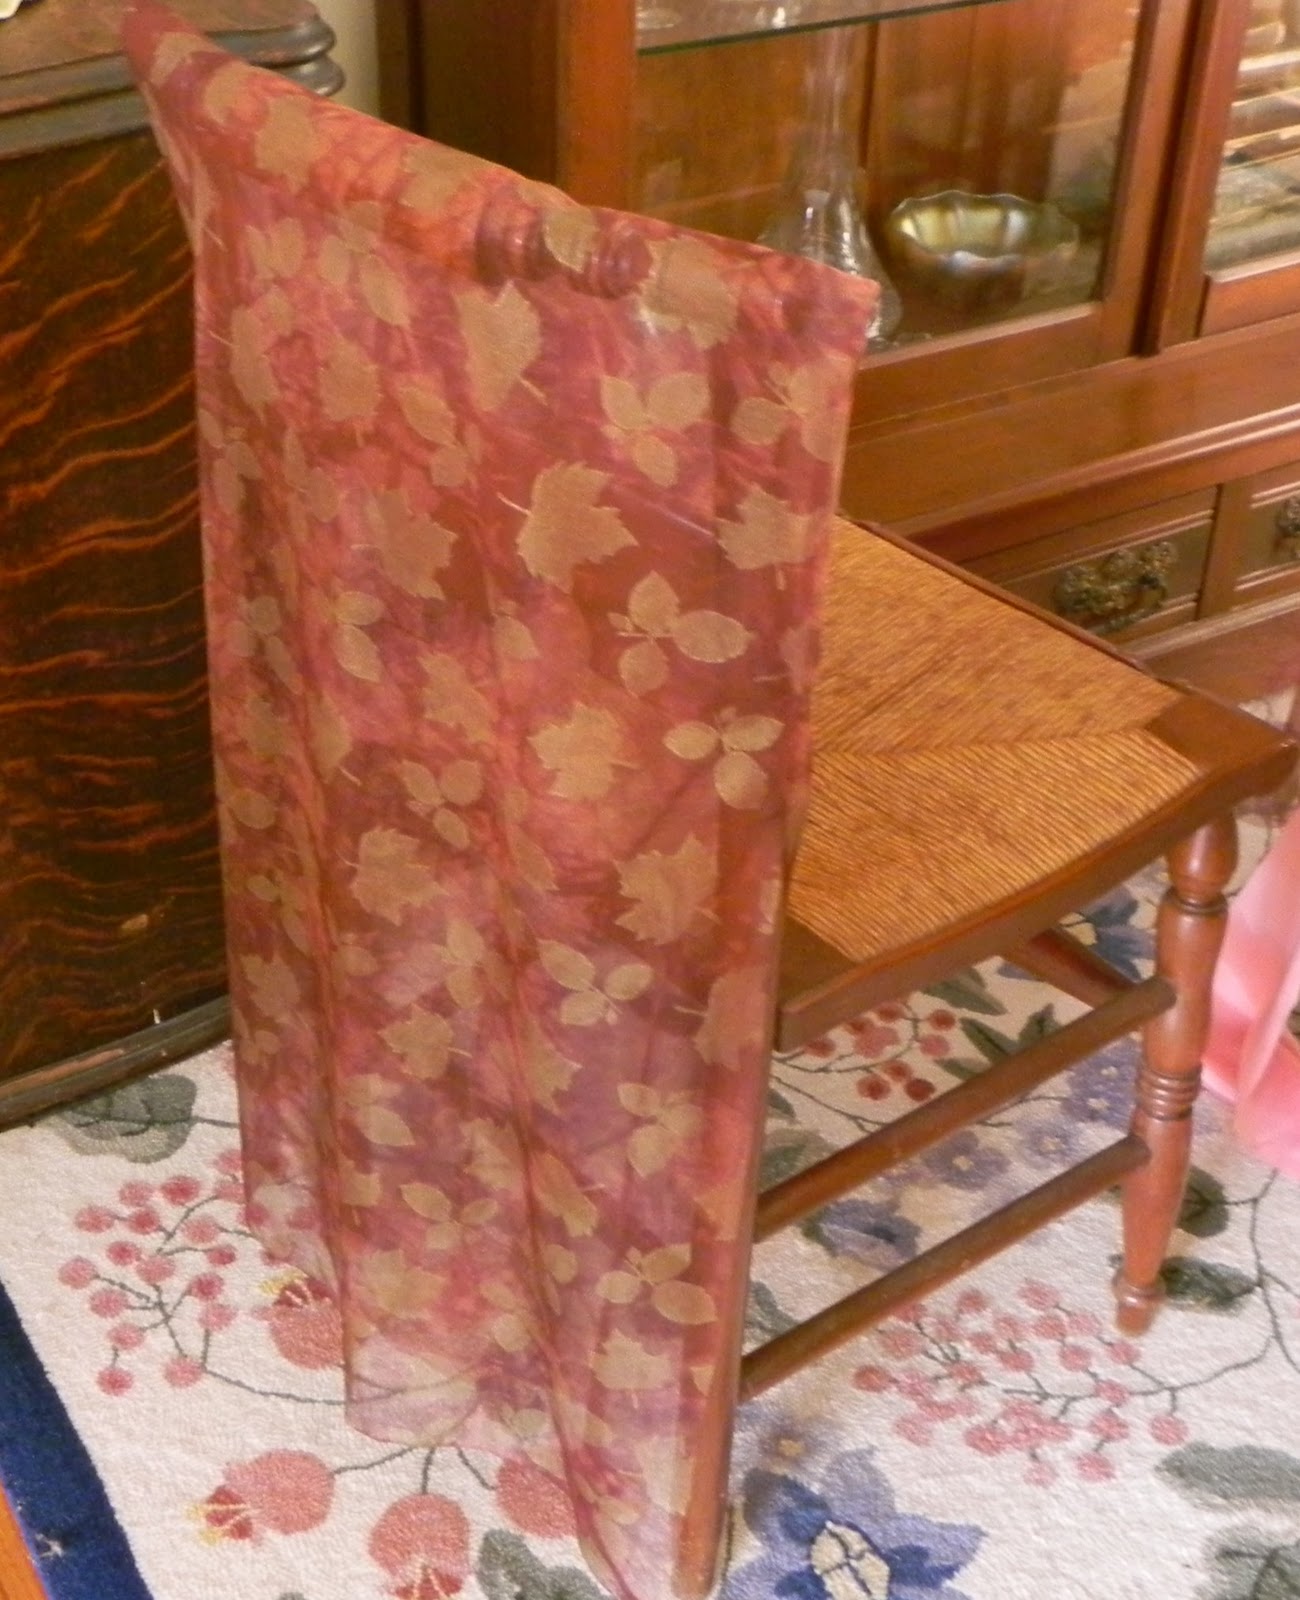
Easy Chair Slips

These photos show some of the slips that I have made, and they are super simple to do.
1) Purchase several yards (depending on the number of chairs to cover) of 54"-60" sheer decorative fabric. Check the cut edge of the fabric before purchasing to be sure that it does not fray (unless you want to put in the effort of narrow hemming each slip). The holiday "craft fabrics" all seem to work well.
2) With the fabric folded as it comes from the bolt, cut lengths through both layers from the selvages to the fold. The width of the lengths should be at least 1" wider than the width of the chair back.

Monday, March 14, 2011
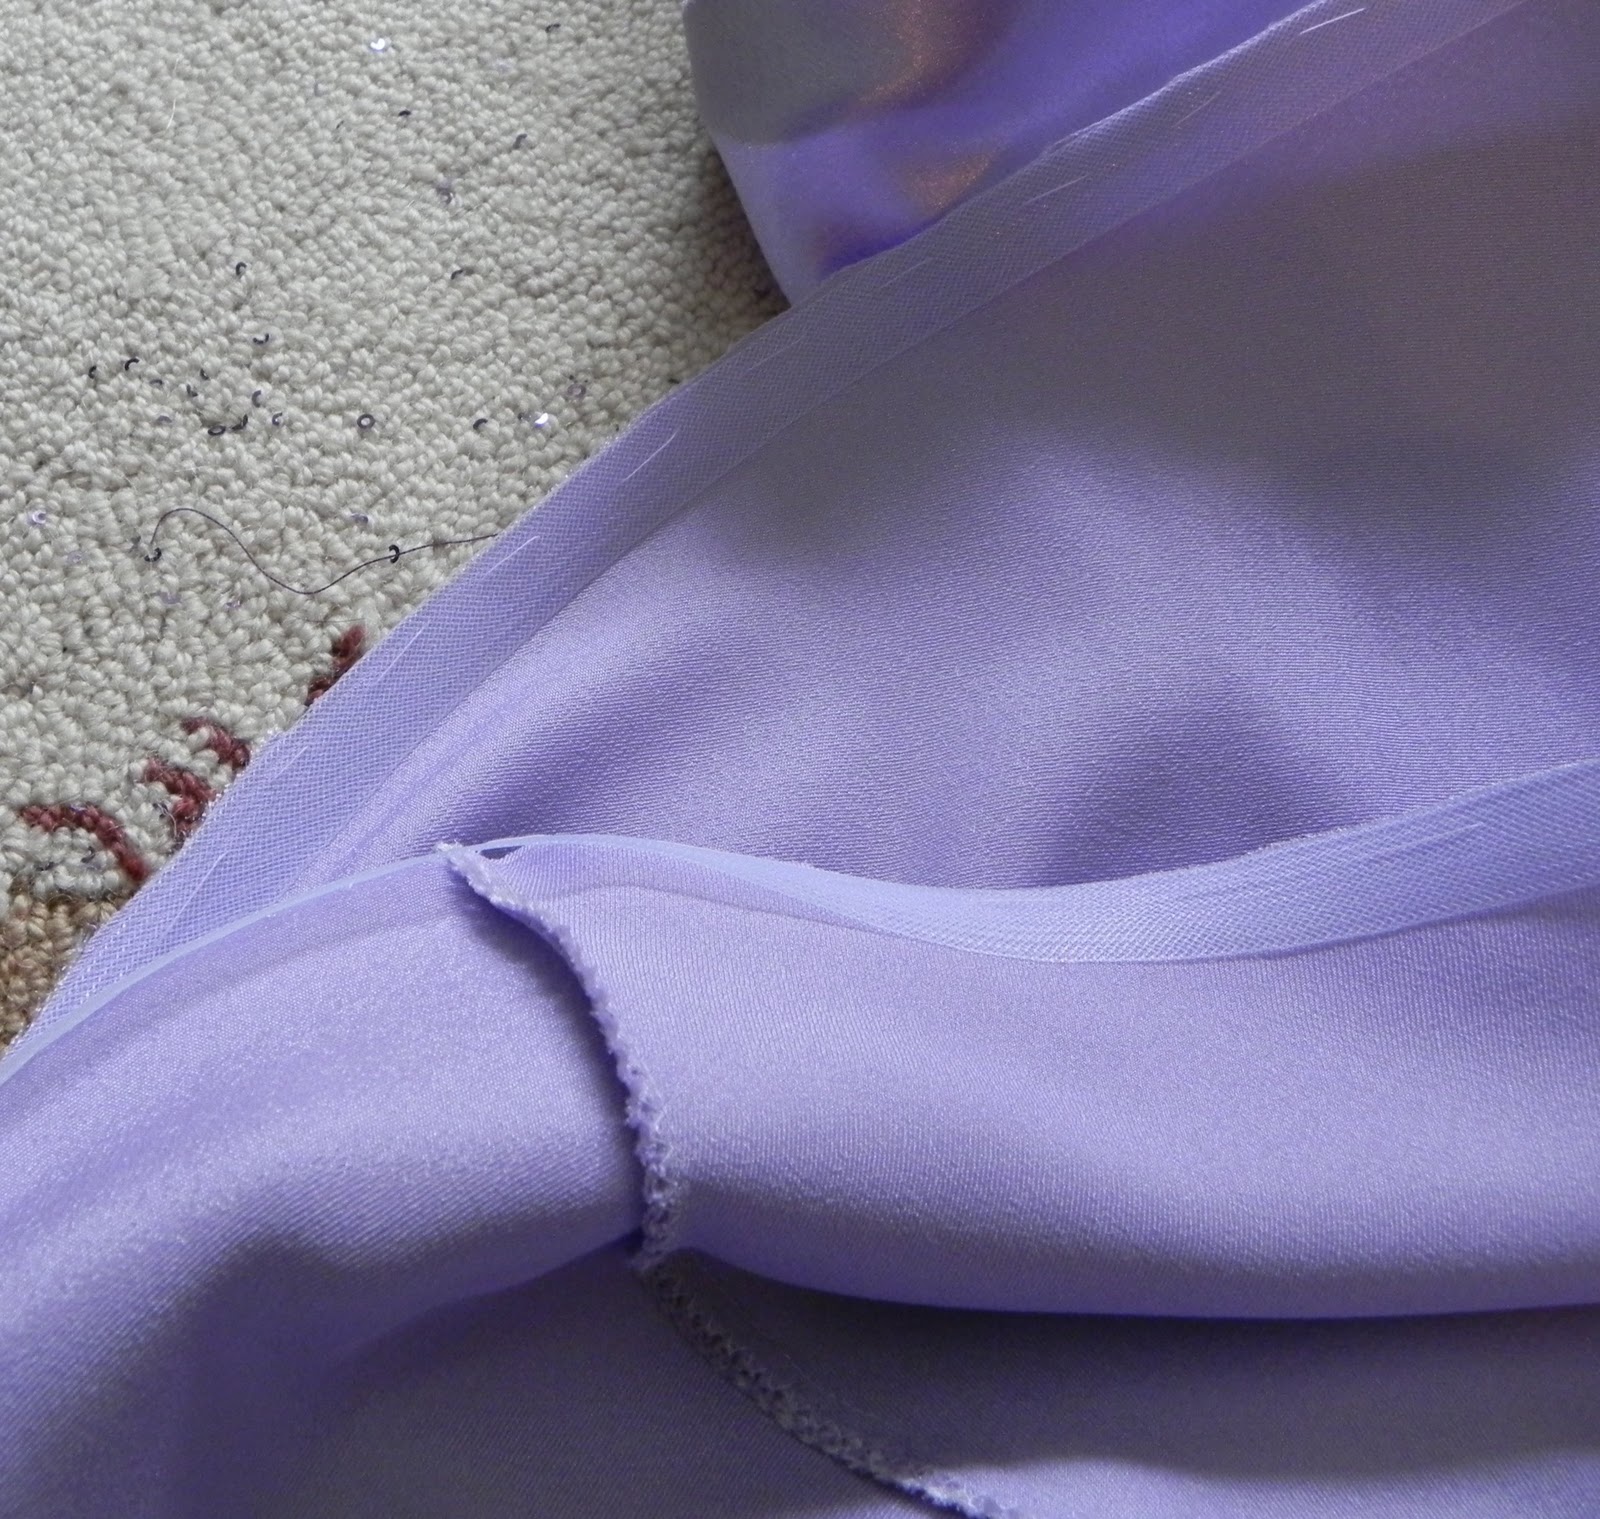
Making a Dancesport Gown: Sequined Fabrics
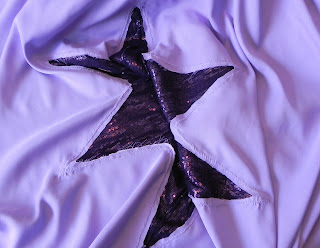
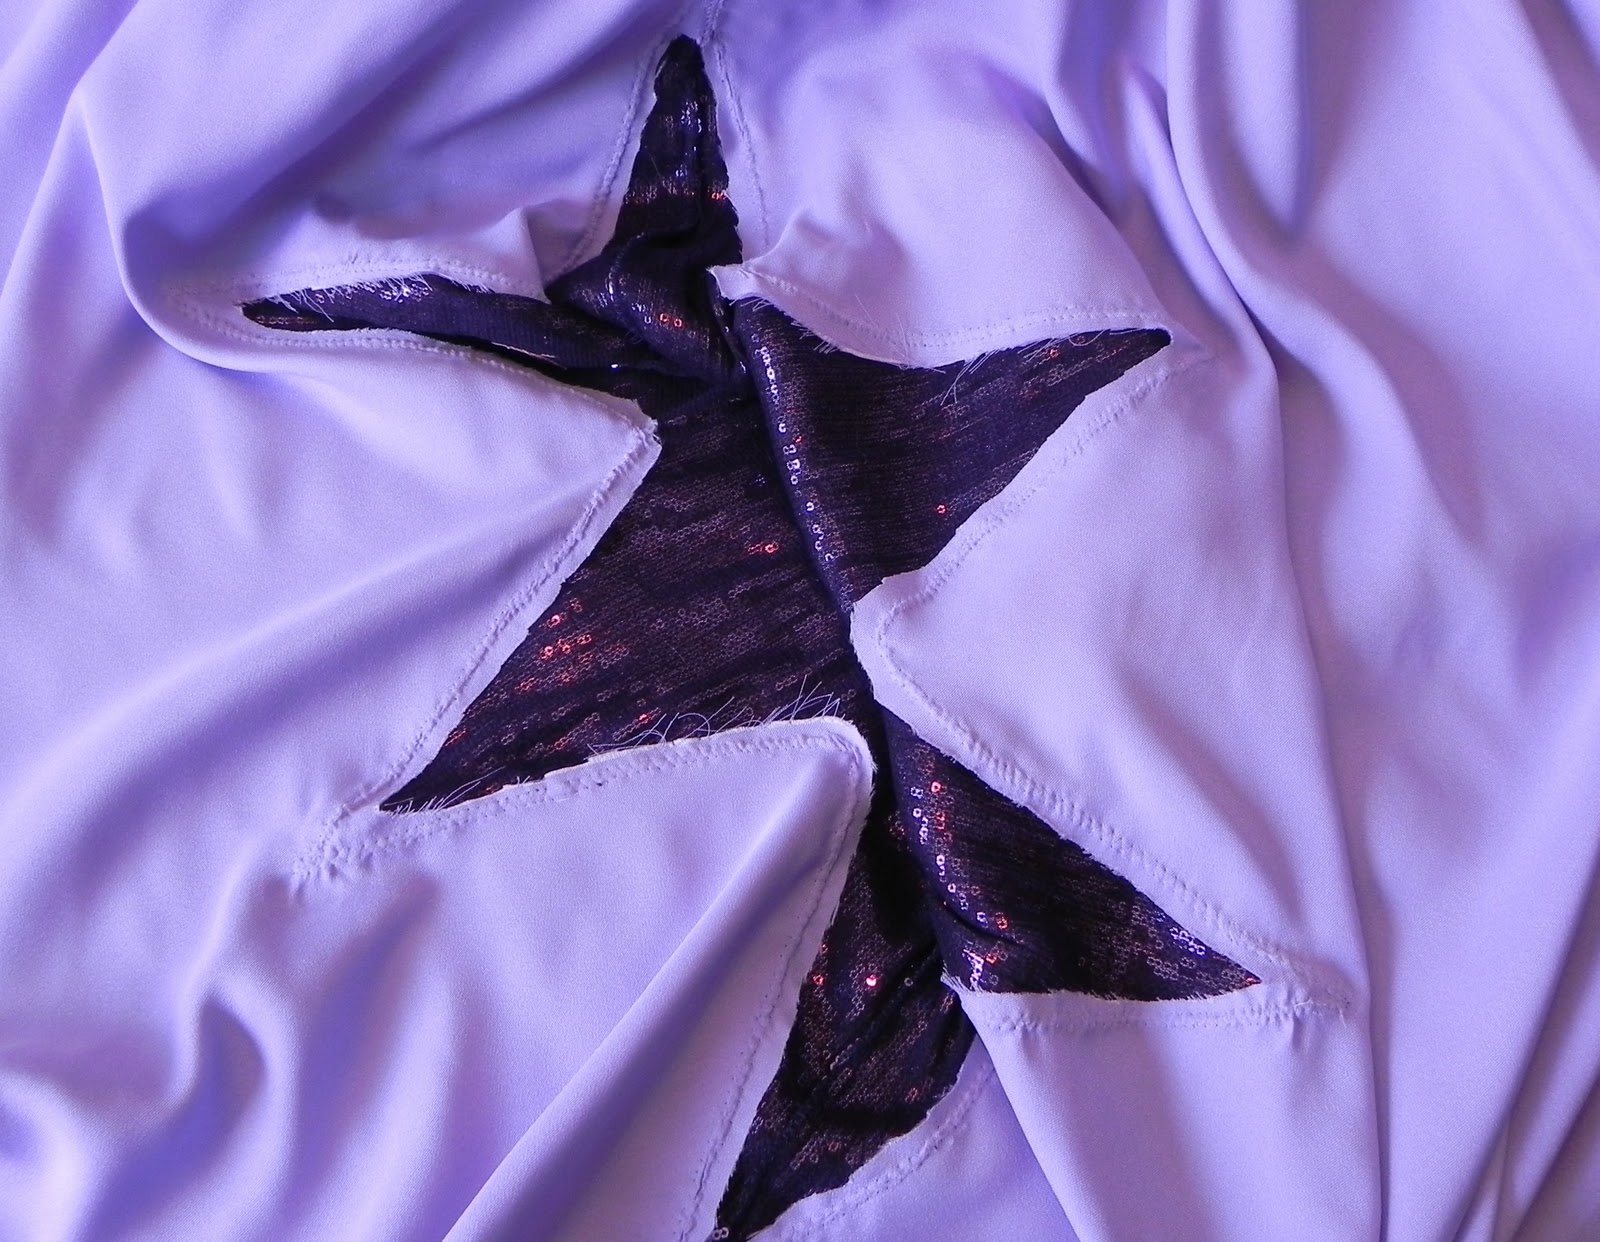
I ordered 2 different sequined fabrics from Spandex House in NYC, and loved both of them! One of them turned out to be a disaster however.
 This picture is similar to the purple sequined fabric that I used. This one worked great, because the small sequins lay very flat against the mesh that they are sewn to:
 This picture is similar to the peach sequined fabric that I used on the dress with the peacock feathers:
It was a disaster from the get-go, and yet I forged ahead. Because of the larger, looser stitched sequins, every time the fabric got folded right-sides together, the threads from one side got tangled up in the sequins on the other side. Then it grabbed the chiffon of the skirt and floats and left huge snag marks. Thank goodness I decided to try out dancing in it before using it for a competition! I got onto the floor and 1) one arm got stuck by my side, and 2) I got stuck to my partner!
So my advise is, if you are using sequined fabrics, be sure to play with the fabric samples when you get them.
Making a Dancesport Gown - Check the Regulations!
Before going through all of the effort of making a gown, be sure to check the USA Dance Rules or National Dance Council of America Rules. There are a large number of restrictions, particularly for younger dancers, regarding the use of light reflective materials, floats, layered skirts, etc. Much better to be safe than sorry!
Purple Dancesport Gown: Stoning
I've got quite a bit of shopping around for dress crystals (flat backs), and have found that Dreamtime Creations seems to have the best prices, even after a fairly large price hike (which they gave more than fair warning about) in the spring of 2011. Most of what I learned about stoning I found in the Ballroom section of Dance Forums, which is a great resource for all things ballroom.
The first question was Swarovski or Preciosa? Preciosa is less expensive, but most people agree that they don't sparkle as much as Swarovski. Some claim that one is sparklier up close, and the other is sparklier from a distance. Well, as the blog title implies, I went the cheaper route with Preciosa.
You will also want regular flatbacks that you attach with glue, and not the hotfix ones. As for glue, you have several options. The two main ones are E-6000 and Gem-Tac. The E-6000 was recommended to me by a professional dancer, & sure enough it has amazing holding power. The only problem is that I found it hard to work with. It makes long threads of glue when you pull away the toothpick you are applying it with, and there really isn't any way to undo mistakes. I've had better luck with Gem-Tac, which is basically a white craft glue. The problem with Gem-Tack is that it dries quickly, so you have do the stoning fairly quickly as well.
To get prepared, you will need:
 - the flatback stones (size 20ss and/or 16ss seem to be the most popular for stoning dresses according to people on Dance Forums)
- Gem-Tac
- a chopstick (although I suppose a pencil would do)
- a paper plate or index card as a "glue palette"
- a couple of toothpicks
- poster adhesive.
 Poster adhesive?! Yes - I use Duck Brand Poster Putty shown here, but you can also use Blu-Tack or any other similar product.
 If you put a small blob of the putty on the end of a chopstick, it is exactly tacky enough to pick up a small rhinestone and place it where you want it, but not so tacky that you can't get the stone off. You may need to use a clean toothpick to push it off once you go to place the stone however.
1) Put a small blob of glue onto your paper palette. Don't squeeze out too much until you know how quickly you'll be working, because Gem-Tac dries quickly
 2) Use a toothpick to put several dots of glue where you plan to put the stones. Again, do fewer dots until you have an idea of how quickly you can work since the glue dries quickly.
3) Use the chopstick with the putty to pick up the stones, and place them on each glue dot, gently pushing off with a clean toothpick if necessary. Keep some additional clean toothpicks around in case your glue dot was too big and you need to clean up the glue that oozes out from behind the stone. This whole process seems to be a balancing act of having enough glue to hold the stone tight without having too much and making a mess
4) After the glue has set a little, 3-5 minutes. gently pat the stones down (without moving them!) to ensure good adhesion.
A couple of things I discovered through trial and error:
- Always keep some stones in reserve for repairs - no matter how well you glue the stones on, a bunch are bound to fall off anyway
- A gross (144) of stones is a remarkably small amount - even though it sounds like a lot, it's maybe a scant teaspoon
- It's better to have the stones clustered together than sprinkled far and wide across the dress - they'll show up more
- I am completely incapable of getting the darned things on completely evenly, so I keep reciting my mother's favorite phrase, which was "It will never show on a galloping horse".
The first question was Swarovski or Preciosa? Preciosa is less expensive, but most people agree that they don't sparkle as much as Swarovski. Some claim that one is sparklier up close, and the other is sparklier from a distance. Well, as the blog title implies, I went the cheaper route with Preciosa.
You will also want regular flatbacks that you attach with glue, and not the hotfix ones. As for glue, you have several options. The two main ones are E-6000 and Gem-Tac. The E-6000 was recommended to me by a professional dancer, & sure enough it has amazing holding power. The only problem is that I found it hard to work with. It makes long threads of glue when you pull away the toothpick you are applying it with, and there really isn't any way to undo mistakes. I've had better luck with Gem-Tac, which is basically a white craft glue. The problem with Gem-Tack is that it dries quickly, so you have do the stoning fairly quickly as well.
To get prepared, you will need:

- Gem-Tac
- a chopstick (although I suppose a pencil would do)
- a paper plate or index card as a "glue palette"
- a couple of toothpicks
- poster adhesive.


1) Put a small blob of glue onto your paper palette. Don't squeeze out too much until you know how quickly you'll be working, because Gem-Tac dries quickly

3) Use the chopstick with the putty to pick up the stones, and place them on each glue dot, gently pushing off with a clean toothpick if necessary. Keep some additional clean toothpicks around in case your glue dot was too big and you need to clean up the glue that oozes out from behind the stone. This whole process seems to be a balancing act of having enough glue to hold the stone tight without having too much and making a mess
4) After the glue has set a little, 3-5 minutes. gently pat the stones down (without moving them!) to ensure good adhesion.
A couple of things I discovered through trial and error:
- Always keep some stones in reserve for repairs - no matter how well you glue the stones on, a bunch are bound to fall off anyway
- A gross (144) of stones is a remarkably small amount - even though it sounds like a lot, it's maybe a scant teaspoon
- It's better to have the stones clustered together than sprinkled far and wide across the dress - they'll show up more
- I am completely incapable of getting the darned things on completely evenly, so I keep reciting my mother's favorite phrase, which was "It will never show on a galloping horse".
Friday, March 11, 2011
Purple Dancesport Gown: Putting in the Sleeves
When making street wear you set in the sleeves almost parallel to the body because it is designed to be worn with your arms at you side. Dance sport gowns on the other hand, are designed to be worn with your arms up, so the sleeves are set in almost perpendicular to the body.
1) Put on the dress and place a pin on each shoulder where you want the sleeves to meet the dress, and a pin on each underarm. Remove the dress and adjust the pins so that they are even on both side
2) Baste the over dress to the bodysuit at the armholes in a gentle curve between the pins. Try the dress on again to make sure that the baste lines look like they are placed correctly. Trim just outside the baste lines.
3) Lay out your sleeve fabric, and check the direction of the stretch. For 2-way stretch fabric you want the stretch to go around your arm, *not* lengthwise. Fold the fabric to roughly form the sleeve with the right-sides together.
 4) Lay the dress down over the folded fabric, with the fold at the shoulder and the edge that will have the seam at the arm pit.
5) Adjust the fold until the sleeve is the correct width.
 6) Cut the length of the sleeve and cut a curve to fit the arm hole. Use this sleeve as a pattern to cut a second sleeve.
7) Baste the length of the sleeves on the raw edge.
 8) Slip a sleeve over your arm and pin to get the correct fit. Baste along the pin line, and repeat the process until the sleeve looks like it will fit correctly. Once it fits, duplicate the baste line on the other sleeve. This photo shows the multiple baste lines on one of the sleeves.
9) Machine a straight seam along the baste line, using very long stitches. Trim away the excess fabric and zig-zag stitch the raw seam to bind it.
 10) Pin the sleeve to the inside of the arm hole, matching the sleeve seam to the body seam. Work your way around the sleeve so that it is eased in evenly
11) Baste the sleeve in, then straight stitch with long stitches. Finish off by binding the seam with a zig-zag stitch.
12) To cut the pointed cuff, try on the dress and mark the sleeves with a pin on the top of your hand near the base of your fingers, and a pin on the underside of the wrist. Leave enough room for a narrow seam allowance.
 13) Remove the dress and lay it out. Adjust the pin marks so that they are the same on both sleeves. Cut between the pins as shown in the picture
14) Make a narrow hem encasing a narrow round elastic. I start the elastic up under my wrist to make it easier to add the elastic loop on top that will go around your finger. Leave the ends long so that you do not risk losing the elastic inside the casing. Baste, then zig-zag on the machine with clear nylon thread.
15) Tie the elastic ends into a knot, dag with Gem-Tac, and then cut off the excess when the glue dries.
 16) Hand stitch in a loop of elastic at the top point of the cuff. I use white elastic that I have colored brown with a fabric pen. I rinse the elastic slightly leaving a nice tan color that won't show too badly. Try it on and adjust the length of the loop as needed. Tie a knot in the elastic, dab the knot with Gem-Tac, and then cut off the excess elastic when the glue dries.
1) Put on the dress and place a pin on each shoulder where you want the sleeves to meet the dress, and a pin on each underarm. Remove the dress and adjust the pins so that they are even on both side
2) Baste the over dress to the bodysuit at the armholes in a gentle curve between the pins. Try the dress on again to make sure that the baste lines look like they are placed correctly. Trim just outside the baste lines.
3) Lay out your sleeve fabric, and check the direction of the stretch. For 2-way stretch fabric you want the stretch to go around your arm, *not* lengthwise. Fold the fabric to roughly form the sleeve with the right-sides together.

5) Adjust the fold until the sleeve is the correct width.

7) Baste the length of the sleeves on the raw edge.

9) Machine a straight seam along the baste line, using very long stitches. Trim away the excess fabric and zig-zag stitch the raw seam to bind it.
11) Baste the sleeve in, then straight stitch with long stitches. Finish off by binding the seam with a zig-zag stitch.
12) To cut the pointed cuff, try on the dress and mark the sleeves with a pin on the top of your hand near the base of your fingers, and a pin on the underside of the wrist. Leave enough room for a narrow seam allowance.

14) Make a narrow hem encasing a narrow round elastic. I start the elastic up under my wrist to make it easier to add the elastic loop on top that will go around your finger. Leave the ends long so that you do not risk losing the elastic inside the casing. Baste, then zig-zag on the machine with clear nylon thread.
15) Tie the elastic ends into a knot, dag with Gem-Tac, and then cut off the excess when the glue dries.

Purple Dancesport Gown: Attaching the Bodysuit
1) Put the bodysuit on the dress form, and then put the dress over it (right-side to)
2) Check that the shoulder seams and the side seams line up.
 3) Use masking tape to mark where you want the neckline to be. Make sure that it is at least as large as the opening that you already cut on the bodysuit. also make it a little smaller than you think you'll need, you can always go back and make it larger, but you'll never be able to make it smaller.
4) Baste the dress to the bodysuit inside the tape line. Make sure that the basting is very loose because the neck hole needs to be able to stretch.
 5) Trim the fabric inside the tape line (this photo just shows the initial cut)
6) Try to step into the gown & see if your hips and shoulders will fit through. Mine didn't the first time. Repeat the taping/basting/trimming process until it fits.
7) Because of the sequins coming off of the raw edge, machine zig-zag the raw edge with clear nylon thread.
8) Fold the edge to the inside to encase narrow round elastic, and leave the end of the elastic long at the ends. You don't want to risk having it get pulled inside the casing before you have a chance to tie it off.
9) Machine zig-zag the neckline with clear nylon thread.
10) Tie a knot in the elastic on the inside, and put a dab of Gem-Tac on the knot. Once the glue dries trim away the excess elastic.
2) Check that the shoulder seams and the side seams line up.

4) Baste the dress to the bodysuit inside the tape line. Make sure that the basting is very loose because the neck hole needs to be able to stretch.

6) Try to step into the gown & see if your hips and shoulders will fit through. Mine didn't the first time. Repeat the taping/basting/trimming process until it fits.
7) Because of the sequins coming off of the raw edge, machine zig-zag the raw edge with clear nylon thread.
8) Fold the edge to the inside to encase narrow round elastic, and leave the end of the elastic long at the ends. You don't want to risk having it get pulled inside the casing before you have a chance to tie it off.
9) Machine zig-zag the neckline with clear nylon thread.
10) Tie a knot in the elastic on the inside, and put a dab of Gem-Tac on the knot. Once the glue dries trim away the excess elastic.
Purple Dancesport Gown: Adding the Skirt
1) Follow the directions under Making a Circle Skirt Pattern to cut a muslin pattern. Be sure to read the last part of the instructions before you cut anything
2) Cut 2 pieces of fabric from the pattern. NOTE: The first attempt at this skirt was 3 layers of chiffon and one layer of lining fabric. Then I tried steaming out some wrinkles and the entire thing puckered up. Yikes! So these instructions show the do-over with a single layer of satin. This also explains why the bodysuit is pink.
3) With the right sides together, stitch along the side seams, going from the waist to the hem on both sides - this allows the seams to hang evenly.
4) Put the overdress right-side-to onto the dress form, and pin the skirt to the inside just above the tops of the points as shown here:
 5) Baste the skirt to each point along the point edges. Machine zig-zag stitch over the basting. Since this will show I use clear nylon thread.
 6) Trim the skirt on the inside between the points
NOTE: I actually don't do the hem until after I have attached the bodysuit & sleeves, but it makes more sense to explain it here
7) Try on the dress over the bodysuit and mark the hemline with pins. The hem will make it about another inch shorter, so keep that in mind.
8) I usually put the dress back on the dress form and adjust the height so that the pins graze the floor, then trim the excess fabric from there. You could also do it by measuring how much needs to be cut off.
 7) Baste in 1/2" horsehair braid to the wrong side of the hem, then zig-zag stitch it being very careful not to stretch the braid
8) Turn up the hem twice and pin it. If some of the braid got stretched this can be a challenge, and you may need to snip a slice into the braid to get this to work.
9) Stitch in the hem with a zig-zag stitch using nylon thread. NOTE: The last time I did this I stitched from the underside so that I could easily see the edge of the hem. *Big mistake*. I didn't realize that that skirt fabric on the right side was bunching up, so I should have stitched from the right side. Oh well, live and learn.
 |
| Original skirt before I destroyed it |
3) With the right sides together, stitch along the side seams, going from the waist to the hem on both sides - this allows the seams to hang evenly.
4) Put the overdress right-side-to onto the dress form, and pin the skirt to the inside just above the tops of the points as shown here:
NOTE: I actually don't do the hem until after I have attached the bodysuit & sleeves, but it makes more sense to explain it here
7) Try on the dress over the bodysuit and mark the hemline with pins. The hem will make it about another inch shorter, so keep that in mind.
8) I usually put the dress back on the dress form and adjust the height so that the pins graze the floor, then trim the excess fabric from there. You could also do it by measuring how much needs to be cut off.
8) Turn up the hem twice and pin it. If some of the braid got stretched this can be a challenge, and you may need to snip a slice into the braid to get this to work.
9) Stitch in the hem with a zig-zag stitch using nylon thread. NOTE: The last time I did this I stitched from the underside so that I could easily see the edge of the hem. *Big mistake*. I didn't realize that that skirt fabric on the right side was bunching up, so I should have stitched from the right side. Oh well, live and learn.
Purple Dancesport Gown: Making the Overdress Bodice

1) Before beginning, be sure to check which way your fabric stretches. If it is a 2-way stretch like this sequined fabric is, then you need to be sure that the stretch will go side-to-side around the body instead of up-and-down, or you will really run into trouble!
2) Cut 2 rectangles of fabric that is a few inches wider than the widest part of your body, and about as long as from your shoulder to mid-thigh

4) [NOTE: Because my dress form isn't the right size for me (too small!), I do all of the following by trying on the garment, pinning, basting, and repeating.] Try on the garment with it still inside-out, and pin the sides to get the correct fit.
5) Remove the dress, and lay it out flat. Use a ruler to adjust the pins so that they are positioned evenly on both sides, then baste along the pin line.
6) Try the dress on again, and repeat the pinning-basting process until you have the fit that you want.
7) If you think that you may get confused as to which baste line to follow when machine stitching, remove the outer baste lines. Stitch along the inner baste line with a very long straight machine stitch, pulling the fabric slightly as you go along

9) Carefully pick out the basting. Use a zig-zag stitch to bind the seam edge
10) This dress will have a pointed hem where it meets the skirt. I have found that this works best if the tops of the points are slightly (an inch or so) above the crotch line to allow for ease of movement. Try on the dress (still inside-out) and put in several pins where you think the tops and bottoms of the points should be.
 11) Remove the garment and lay it out flat. Place a piece of masking tape across the average top line and average bottom line. By average I mean that since you used several pins on each line, they may not all line up exactly
 12) Measure the top tape. Mine was 18". Multiple by 2 to get the circumference of the dress at that point. 18 * 2 = 36. Since we want 6 points, divide this value by 6 to get the width of each point. 36/6 = 6. This means that each point will be 6" wide

13) Mark the center point on the upper tape (since mine is 18", the center will be at 9"). Then mark point-width inches on either side of the center mark (for me that is 6" on either side)
14) The bottom tape on mine is a little wider than the top, so I need to fudge the numbers a bit. Mark the center of the lower tape (since mine is 19", the center is at 9.5"). Mark the tape at 1/2 a point-width (3" for me) on either side of this center mark.

15) Use masking tape to connect the marks as shown in this picture. I also put arrows on my tape so I would remember which side of the tape I want to cut on.

16) Cut along the tape lines as shown above. Remove the excess tape, and because raw edges of sequined fabric look bad and fall apart, baste a very narrow hem along the edge of each point.
OK, now on to making the skirt!
Subscribe to:
Posts (Atom)